


 no reviews
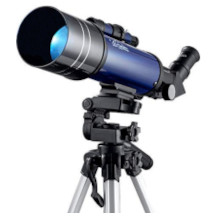
Telescope purchasing advice: how to choose the right product
- What You Need to Know
- Telescopes magnify objects in the night sky.
- The two classic types are the refracting telescope and the reflecting telescope.
- Lens telescopes are suitable for observing “close” individual objects such as the moon.
- Reflecting telescopes are recommended for observing objects beyond the solar system.
A look at the stars
Stars and other celestial objects hold a great fascination for us. Since prehistoric times, we have tried to fathom the unreachable lights in the sky. In many cultures, the interpretation of the celestial bodies was a matter for the highest religious dignitaries. After the invention of the telescope, the exploration of the firmament was initially reserved for a scientific elite, because the manufacture of the lenses was complicated and expensive. Nowadays, astronomy is open to everyone. Future recreational astronomers only have to choose between a lens telescope and a reflecting telescope.
Who exactly invented the telescope is disputed. The Dutchman Hans Lipperhey is often credited with the invention. However, it was the famous Galileo Galilei (1546-1642) who had the idea of using the telescope for observing the stars, and he further developed the instrument for this purpose. With these binoculars he discovered, among other things, the four largest moons of Jupiter, the craters of the moon and the phases of Venus. At the same time, another famous scientist was tinkering with telescopes: Johannes Kepler (1571-1630). Like all early telescopes, Kepler’s telescope was equipped with only one lens. Since the production of large lenses was not yet possible at that time, researchers could hardly see faint objects. For this purpose, reflecting telescopes were used, whose heavy, tilted mirrors often produced imaging errors.
In 1668, Sir Isaac Newton built the first reflecting telescope with a concave main mirror made of metal. Josef Fraunhofer developed better types of glass and casting methods around 1825 and thus laid the foundation for modern astronomy. Thanks to technological progress, today even amateur observers have possibilities at their disposal that Galileo could only dream of.
Lenses and mirrors – how a telescope works
Telescopes collect and focus light. In this way, they magnify distant objects. They consist of a tube, the “tube”, in which light-collecting elements are built in. These are curved mirrors and convex lenses. The light from the starry sky falls into the opening of the telescope. The larger this opening, the more light is collected and the better the image. The light hits an eyepiece at the end of the tube, through which the observer looks.
The refracting telescope
A refracting telescope, also called a refractor, consists of an elongated outer shell called a tube. All components are connected to this tube, which is why no readjustments are necessary. A simple refractor consists of an objective and an eyepiece. The objective is usually made up of two lenses separated only by an air gap. It collects the light from the targeted object and focuses it at the focal point, where a small upside-down image is produced. The distance between the focal point and the objective lens is called the focal length. A long focal length is suitable for observing single objects, a short focal length is recommended for large objects. The eyepiece at the focal point is a magnifying glass that enlarges the image produced by the objective lens.
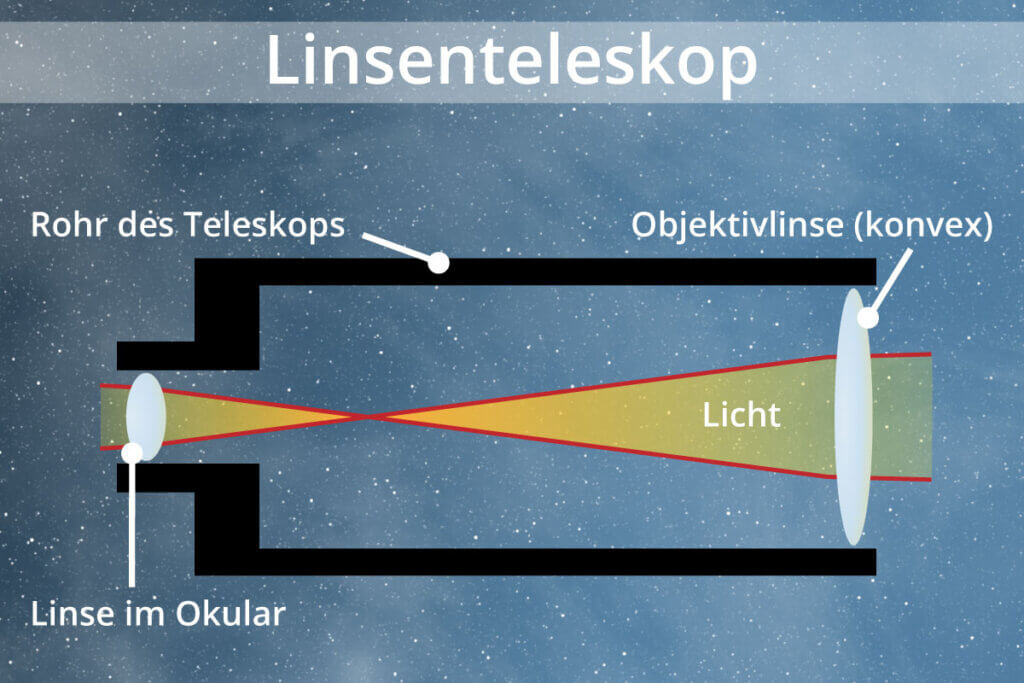
Unlike a reflecting telescope, there is no secondary mirror in the optical path of a refractor to shade the light path. Since this type of image error cannot occur, a refracting telescope achieves high sharpness and contrast. This is an advantage when observing the moon and planets. However, simple refracting telescopes are prone to colour errors. Lenses do not focus coloured light into a single focal point, as each colour has its own such point. A side effect of this is that disturbing coloured rings appear around an object. In technical jargon, this is called chromatic aberration. In order to reduce the colour fringes, different lenses are joined together in higher-priced models. Lens telescopes that do not show colour fringes are called apochromats.
Pro points
- Ideal for observing the moon and planets
- High sharpness and contrast
- Fixed optical system
- No adjustment necessary
- Transportable
Drawbacks
- Colour aberration due to chromatic aberration
- Expensive at large apertures
The reflector telescope
The most common type of reflector telescope is often called a Newtonian telescope after its inventor, Sir Isaac Newton. Another common term is reflector. In this telescope there are no lenses, but mirrors as light-collecting elements. The light first falls through the aperture onto a parabolic, i.e. bowl-shaped, main mirror. From here it is reflected to a smaller, flat secondary mirror, which directs the light sideways out of the telescope to the eyepiece. In a reflecting telescope, the focal length is also the distance of the focal point from the light-collecting element, in this case the primary mirror.
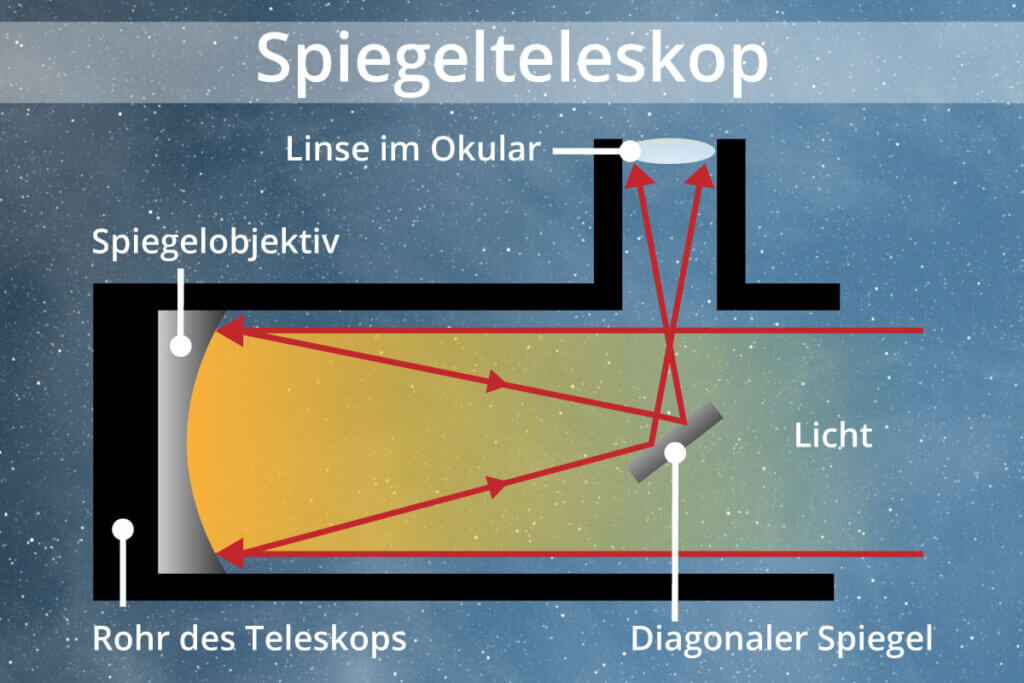
The construction of the reflector telescope has advantages and disadvantages. A reflector has a larger aperture than a refractor and is usually cheaper to buy. Because of the large aperture, the reflector telescope is better suited for observing faint and distant objects such as galaxies, nebulae and star clusters. The images of a reflector do not contain any colour errors, but the partial blocking of the beam path causes a lower image sharpness. The main and secondary mirrors of the telescope often have to be readjusted, especially after transport, which may be too much for beginner astronomers.
Pro points
- Large light-collecting surface
- Good price-performance ratio
- High magnification possible
- Transportable
Drawbacks
- Possible image errors
- Lower image sharpness
- Occasional readjustment necessary
What to look for when buying a telescope
Before you buy a telescope, you should consider where your observing interests lie. Do you want to locate bright stars and the planets of the solar system, or view galaxies millions of light years away? You have a choice between a reflector and a refractor.
Beginners who have decided on a telescope type should invest most of their budget in the telescope’s optics. This way you will get the most impressive images when looking through the telescope. An elaborate mount is less important at the beginning, but a telescope still needs to stand vibration-free.
The size of the aperture
The most important aspect when choosing a telescope is the size of the aperture. The aperture is the diameter of the lens or the primary mirror. A telescope with a large aperture collects more light, so that even faint objects can be imaged. In addition, a high light gathering capacity also increases the resolution of the telescope, i.e. the ability to separately image two points that are close to each other. Increasing the aperture has an exponential effect on the light-gathering properties of the telescope. Consequently, a telescope with an aperture of 200 millimetres collects four times as much light as one with an aperture of 100 millimetres.
The focal length
The focal length refers to the distance of the lens or primary mirror from the focal point. So whether the focal length of a telescope is short or long is easy to tell from the length of the tube.
In use, it can be seen that two telescopes of different lengths, which have the same diameter, show different sections of the sky. A long telescope with a large focal length shows a detailed image of a small area of the sky. So if you want to observe comparatively close individual objects, you need a long focal length. A short telescope with a low focal length, on the other hand, shows a large but less detailed image of the night sky. Low focal lengths are therefore well suited for finding distant, flat celestial bodies such as nebulae.
A Barlow lens can increase the focal length of a telescope. It is inserted in front of the eyepiece. Common Barlow lenses double or triple the focal length. In this way, different magnifications are achieved with a single eyepiece.
The magnification power
The magnification factor of a telescope results from the focal lengths of the objective lens and the eyepiece. The captured light is imaged through the eyepiece. The magnification value of a telescope is calculated by dividing the focal length of the objective by the focal length of the eyepiece, for example:
700 millimetres (objective) : 12.5 millimetres (eyepiece) = 56 times magnification.
The smaller the magnification, the larger the visible area, also called the field of view. Conversely, with high magnification, the field of view becomes smaller, while the brightness of the image decreases.
Depending on the design, there is a maximum useful magnification. The rule of thumb is that it should not be more than twice the diameter of the lens. With a diameter of 700 millimetres, this would therefore be 140 times magnification. Beyond that, the image becomes darker and blurrier.
Start small when choosing the eyepiece
Always start by using the eyepiece with the lowest magnification. Once you have centred the object, you can slowly increase the magnification.
The mount
Just as important as the optics is a stable mount. It forms the basis of every telescope and is the connection between it and the tripod. The mount should ensure a stable stand and prevent wobbling and vibrations. At a multiple magnification, any shaking is amplified significantly. Even a slight wind can cause the image to shake. So it is almost impossible to orientate yourself in the night sky with a telescope that is not firmly mounted. Another purpose of the mount is to track the telescope, i.e. to compensate for the earth’s rotation so that it remains aligned with a specific point in the sky. This is done either by hand or by an electric motor.
The so-called azumital mount is considered beginner-friendly because its construction is easy to follow. The telescope can be tilted to the right and left as well as up and down via two axes. The azumital mount is both light and inexpensive, and for these reasons it is used in many entry-level models.
In the professional field, the parallactic mount is often used. It is especially popular with astrophotographers. One axis of the telescope is aligned with the celestial pole, which is located in the northern hemisphere near the pole star. On the second axis, the telescope is rotated around itself. This gives the impression that the telescope is rotating around a point in the sky. In this way, a celestial body can be tracked for hours. This is essential for astrophotography, which requires long exposure times.
Hints for use
As soon as it is dark, a view of the night sky can be taken through the telescope. Well-prepared stargazers make the best observations.
Observation location
Stargazers make the best observations in a place that is as dark as possible, because the greatest interference factor in sky observation is artificial light. So-called light pollution can be observed especially in large cities. The artificial light sources of the city brighten up the night sky and outshine the celestial bodies. As a result, only a few stars can be seen in cities and their immediate surroundings. Amateur astronomers should therefore position their telescope away from disturbing light sources, for example in the countryside or in the mountains.
It is advisable to set up the telescope while the light is still on during twilight. This makes mounting easier and allows the instrument to take on the ambient temperature, which prevents image errors. Before looking through the telescope for the first time, spend some time in the dark so that your eyes get used to the light conditions. Use a red light lamp for orientation in the dark.
Important accessories for stargazers
If you want to make full use of your telescope’s capabilities, you should consider purchasing aids and accessories.
It makes sense to have at least one additional eyepiece, or at best several, because telescopes do not have a zoom function. An interesting object can therefore only be magnified by inserting another eyepiece. Multi-part eyepiece sets are available in specialised shops. Zoom eyepieces that magnify continuously are particularly convenient. The diameters of eyepieces are standardised, so it is possible to use them across different devices.
A filter is indispensable for observing the sun, because an unprotected view of it has dramatic consequences for the eyes: there is an acute danger of going blind. Beginners should rather refrain from this and instead look at the night sky. Since the moon is also very bright, a filter is also recommended for its observation. Colour and nebula filters reduce optical restrictions in cities and regions close to cities and make sky observation easier.
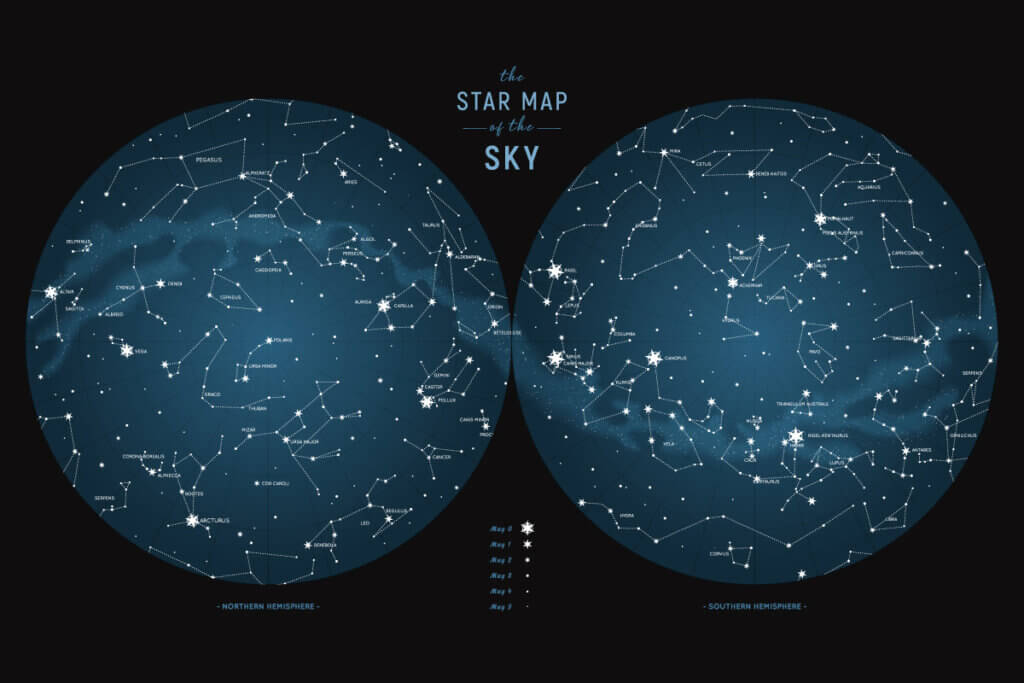
A rotatable star chart is part of the basic equipment of every amateur astronomer. Using the date, the map is adjusted to show the currently visible starry sky. Since the star chart shows a curved space flat, the image is distorted towards the edges, which makes it difficult to use, especially for beginners. A star atlas can provide additional orientation. Here, smaller sections of the sky can be looked up using the coordinates, which are shown without distortion.
Maintenance and cleaning
A telescope is extremely easy to maintain. In fact, it should not be cleaned too often, because the quality of the image suffers. Dust or other dirt on the lens does not have a negative effect on the image at all. Only if the telescope lens is visibly dirty should it be cleaned with a microfibre cloth and special cleaning agent. It is usually sufficient to clean the telescope once a year. Only fingerprints and pollen should be removed promptly, as they attack the coating of the lens or mirror. Such soiling is prevented by always storing the telescope with a dust cover.
Observation examples for beginners
The starry sky offers an infinite number of observing objects. Simply letting your gaze wander through the universe is fascinating, and finding specific celestial bodies with confidence is just as satisfying. Some objects are especially good for beginners:
The moon is impossible to miss. Even the untrained eye discovers many details here. Observation at crescent moon is particularly interesting. At the border between light and dark, the sun casts long shadows that make craters and mountains appear extremely vivid. At full moon, on the other hand, our satellite appears flat and overexposed. The moon is one of the brightest celestial objects, so it makes sense to use a moon filter when observing it to protect your eyes.
The planets of our solar system are other obvious objects to observe. The large gas planets Jupiter and Saturn are particularly easy to see. With a little practice, stargazers can already make out details such as Jupiter’s cloud bands. However, the planets are not visible in the sky at every moment of the year. A sky calendar tells you when and where which planet can be seen.
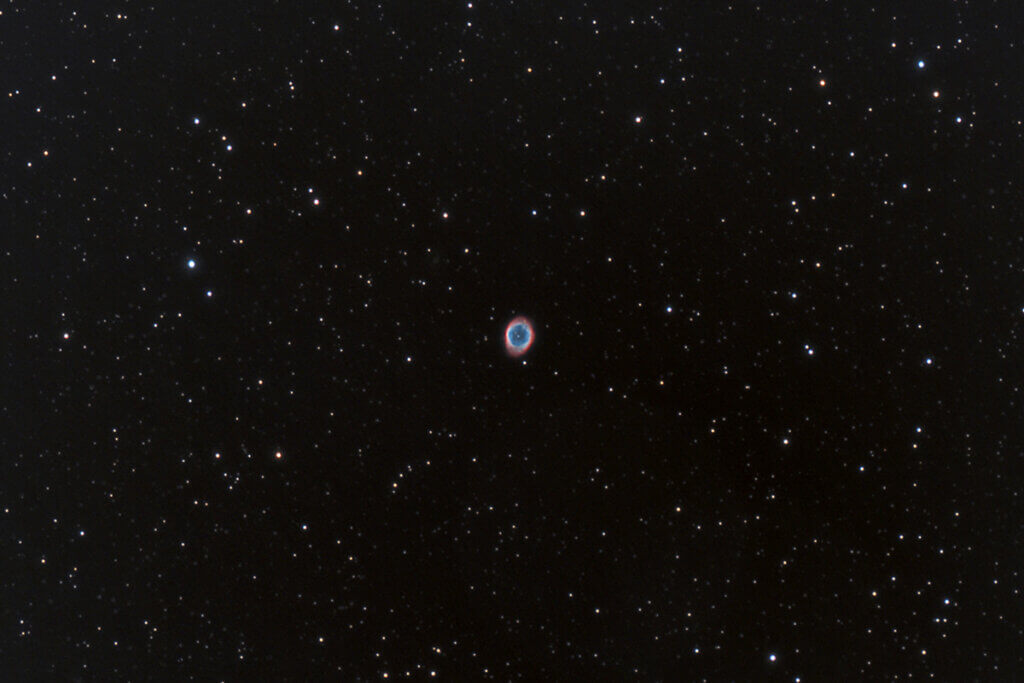
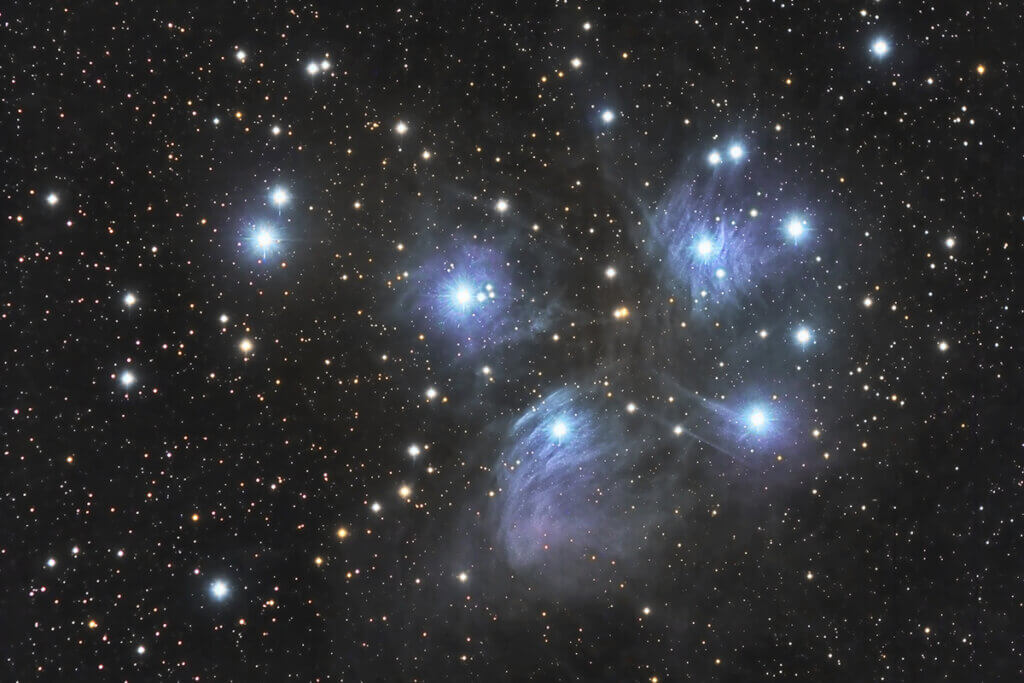
Beginner-friendly celestial objects outside our solar system include our neighbouring galaxy Andromeda, the ring nebula Messier 57, the globular cluster Messier 13 and the Pleiades in the star sign Taurus.