


 no reviews
Bridge camera purchasing advice: how to choose the right product
- What you need to know
- Bridge cameras look similar to SLR cameras, but have a fixed zoom lens like a compact camera.
- Bridge camera models differ mainly in sensor size, focal length and resolution.
- For video enthusiasts, a UHD or 4K resolution, a swivel screen and a 3.5-millimeter jack for a microphone are recommended.
- Modern bridge cameras can be connected to smartphones, printers, computers and tablets for easy photo processing and storage.
Compromise or real alternative
Bridge cameras bridge the gap between single-lens reflex (SLR) cameras, also known as DSLRs (Digital Single Lens Reflex), used primarily by professional photographers, and compact models for amateur users. Therefore, bridge cameras are often called “prosumer cameras”.
At first glance, bridge cameras hardly differ from SLR cameras, with their typical large lens and practical grip. The most important difference is that the lens on bridge cameras is fixed — just like on conventional compact cameras — while users of SLR cameras can attach whichever lens they think is best for each photo. To compensate for the disadvantage of the fixed lens, manufacturers usually install lenses with a large zoom in bridge cameras, covering everything from wide-angle to strong telephoto. This means that bridge cameras are equipped for most situations without having to change lenses.
What are the advantages of bridge cameras?
Besides the already mentioned large focal length range of the lens, one advantage of bridge cameras is that lens and body are perfectly matched. The sensor is better protected against dirt and dust as all the parts are fixed. Most models also offer optical image stabilization, an electronic viewfinder and a versatile display that can be folded or swiveled. A big advantage of bridge cameras compared to SLR cameras is that they are much lighter, which comes in especially handy on trips and excursions. Bridge cameras also have preset shooting modes that make it easier—especially for amateur photographers—to take great pictures. In most cases, the aperture, shutter speed and ISO can also be adjusted manually, so that even professionals and intermediates get their money’s worth with these devices.
What is focal length?
Focal length describes the distance between the lens and the sensor. Lenses with long focal lengths show distant subjects in a large format. Such lenses are called telephoto lenses. The small focal lengths of wide-angle lenses, on the other hand, provide a wider field of view; you get more of the surroundings in the picture. Most bridge cameras have zoom lenses that allow you to adjust the focal length. This is not possible with cameras with a fixed focal length.
Who should opt for a bridge camera?
Bridge cameras are particularly suitable for users who travel a lot, as they are often much lighter than SLR cameras. As an everyday camera for travel and city trips, for occasional video recordings or for simple home use, a bridge camera is the ideal choice. With their powerful zoom lenses and the option to manually adjust the shooting parameters, all common subjects can be photographed without any problems. If you want a lot of zoom at a low price and don’t want to carry around heavy equipment, you should go for a bridge camera. But if you have high demands on photography, want to use the perfect lens for every shooting situation, and are not afraid to invest a lot of money in a lens collection, you should rather go for a DSLR.
What are the disadvantages of bridge cameras?
If you want to change the focal length, you have to rely on zooming, which can reduce image quality. Zoom lenses are inferior to fixed focal length lenses, specially with wide angles and at extreme telephoto focal lengths. Many bridge cameras also have a relatively small image sensor, which produces more image noise at high ISO values than the much larger sensors on SLR cameras. Since the maximum aperture is also usually smaller than that of fast SLR lenses, bridge cameras are not ideal for night and indoor photography. The viewfinder is also a negative point for some users: If you’re used to working with an optical viewfinder you have to get adjusted to the electronic viewfinder with a bridge camera. It also consumes a lot of power, which can be a problem especially when traveling.
Advantages
- Large focal length of the zoom lens
- Sensor is protected from dust and dirt
- Optical image stabilization
- Possible to take pictures via the screen
- Low weight
- Presets ideal for beginners
Disadvantages
- No fixed focal lengths and extreme wide angles
- Limited setting options
- Autofocus often slow
- Limited sensor size and aperture
Differences to compact and DSLR cameras
DSLR or single-lens reflex cameras are characterized by a large housing that provides the necessary space for a whole range of switches and buttons for numerous settings. In addition to the large zoom lens, they have a grip that allows you to hold the camera very securely and firmly. They also offer enough space for a large screen at the back that does not only display the photos taken but can be used as an alternative to the viewfinder as well. It is especially practical when the display can be rotated and tilted: this allows you to see the subject even if you hold the camera above your head or near the ground.
Compact cameras, on the other hand, are comparatively light and small. They have a fixed zoom lens and are fully automatic. They don’t have a viewfinder but have a display on the back. Due to the limited functions and compact design, these cameras are not as pricey, but cannot compete with bridge and SLR cameras in terms of video and image quality.
Bridge cameras combine the advantages of these two camera types without making too many compromises. The zoom lens is fixed like in a compact camera, but the zoom range is usually larger. At the same time, bridge cameras offer many manual settings that come close to those of an SLR camera. In terms of price, bridge cameras are roughly between compact and SLR cameras. This said, very high-quality models can actually cost as much as some SLR cameras.
When looking at the image quality and setting options, bridge cameras are superior to simple compact cameras. Due to the fixed lens and the small sensors, you have to accept limitations in low-light conditions. The design brings a lot of advantages though: the housing and lens are optimally matched to each other and neither dirt nor dust can get inside and damage the image sensor.
Things to consider when buying
The most important factors to consider when buying a bridge camera are the technical features and options that have an impact on image quality. You should also think about ease of use, which is more a matter of personal taste. A good thing to think about is what you’re intending to use your camera for. For example, if you buy a bridge camera primarily for vacation photos, you’ll need a device that is neither too big nor too heavy. Also, you might want to look for a model with a wide zoom range to be able to take both nature and city photos in high quality. If solid video quality is important to you, you should pay attention to the video resolution as well as a 3.5 milimeter jack for an external microphone.
Resolution
If you like to print your photos — for example for a photo book or as a poster — high resolution plays a major role. High-quality bridge cameras offer a resolution of around 12 to 20 megapixels.
If you also want to record videos in good quality, you should make sure that your bridge camera can record HD videos with a resolution of at least 1,280 x 720 pixels. There are even models now that offer 4K video recording.
How many megapixels do I really need?
If you want to print your photos in formats of up to 12 x 12 inches (30 x 30 cm), 12 megapixels will be enough. If you want to print pictures in larger formats, however, you should choose a model with a resolution of at least 16 megapixels. Otherwise, the picture might look blurred and single pixels are visible on the print.
ISO range
The ISO range describes the camera’s ability to adapt to ambient lighting and is between 100 and 6,400 for good models. A high ISO value means that you can still take pictures even in relative darkness. The higher the ISO value is set, the more sensitive the sensor of the bridge camera reacts to incoming light. But this is also accompanied by higher image noise. High-quality modern sensors usually can cope with this. If clear images in poor light conditions are a purchase criterion, it is worth investing money in a slightly more expensive bridge camera.
Aperture
For night and low-light photography, the aperture is also important. The aperture is an adjustable opening in the lens that controls the amount of light entering the lens. The wider the aperture is open, the more light the lens captures. This is why in a dark environment, you or the camera’s automatic system must open the aperture accordingly. The size of the aperture is specified as the ratio of its diameter to the focal length. A very good value for a fast lens is a maximum aperture of 1:1.4, also indicated as f/1.4. A ratio of 1:2.8 (f/2.8) is also still good. A lens with an aperture of 1:3.6 (f/3.6), on the other hand, is only moderately fast. A larger aperture value therefore means a smaller aperture opening and thus less light.

In addition to the exposure, apertures affect the depth of field of the image. It determines the area that is displayed in sharp focus. With a wide-open aperture, the depth of field in the image decreases; the out-of-focus area becomes larger.
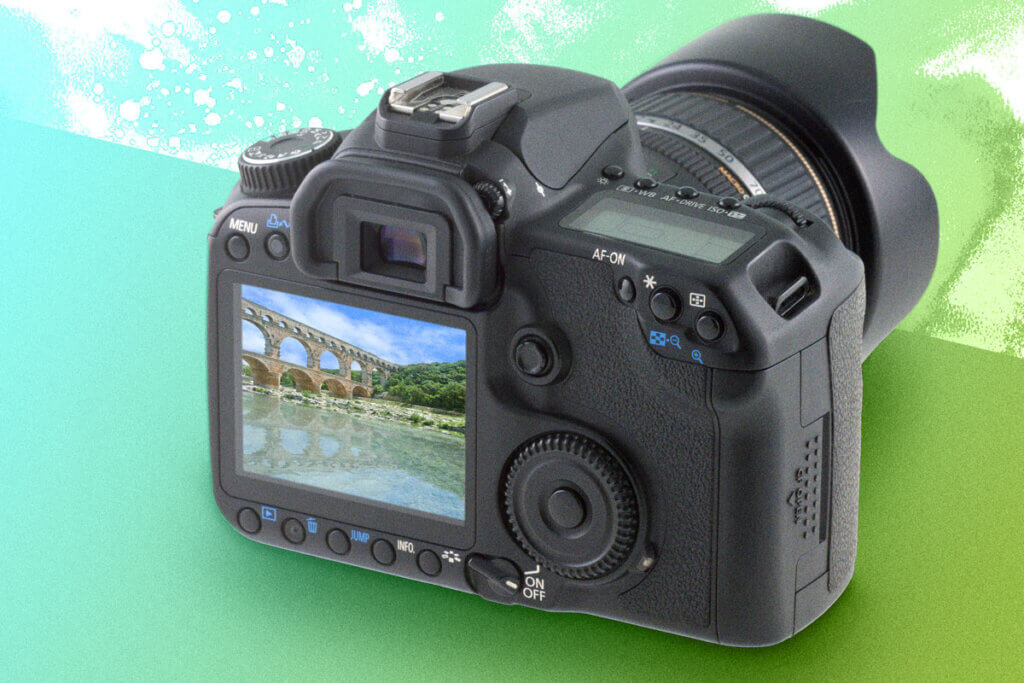
LCD screen and viewfinder
The LC display on the back of bridge cameras allows you to focus on the subject. Depending on where the light is coming from, this can be difficult because it might reflect on the display. Most models therefore also have a viewfinder for manually checking and aiming at the subject. A distinction is made between optical and electronic viewfinders. With an optical viewfinder, you look through the device and see the real subject in front of you. Only the selected image section is aimed at. An electronic viewfinder, on the other hand, displays a virtual image of the subject on a display integrated in the bridge camera. This also takes into account certain settings such as color saturation or exposure time, so you can see how the photo will look before you shoot it and can adjust your settings if necessary.
Interfaces and Wi-Fi
There are several ways to transmit the images you’ve taken from the bridge camera to a TV, laptop, smartphone or printer. The most common interfaces are HDMI and USB. Many models also have a 3.5-millimeter jack for a microphone. This is recommended for better audio quality during recordings, since the internal microphones usually don’t live up to the desired quality. Some bridge cameras also have Wi-Fi, so you can send the images wirelessly to different devices in a shared network.
Thanks to the additional Wi-Fi support, you can even control your bridge camera via a corresponding app on your smartphone or tablet. If both devices, the bridge camera and the mobile device, are connected to the same network, you can view the images directly and save them to the cloud. This is also especially handy if you want to optimize your shots directly in Adobe Photoshop or other image editing programs.
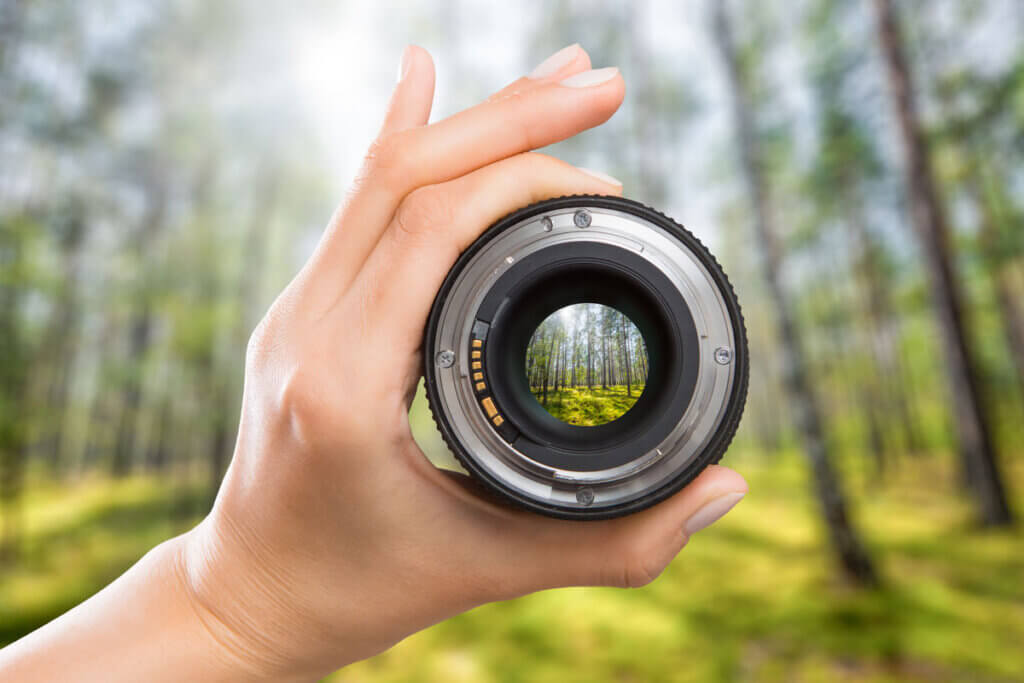
Lens and zoom
Since the lens on bridge cameras is not interchangeable, you should make sure that the model has the appropriate zoom factor when buying. This factor describes the ratio of the longest to the shortest focal length of the installed zoom lens. The zoom factor of bridge cameras ranges from 10 to 80. A zoom factor of 50 to 60 is a good average. The value denotes the optical zoom of the device, i.e. a 10x to 80x magnification of the respective subject can be achieved. Note, however, that a high zoom factor can have a negative effect on the light intensity and slow down the camera’s autofocus.
What kind of lens do I need?
For great results, amateur photographers are recommended to choose a model whose lens is capable to act as a 600 mm super telephoto lens and a 25 mm wide-angle lens.
Weight
While bridge cameras are heavier than compact cameras in most cases, at around 600 to 800 grams, they are still light enough to carry around effortlessly throughout the day. In contrast, SLR cameras with several lenses and other accessories can quickly become very heavy and weigh up to 9 pounds (4kg).
Very lightweight bridge cameras like the Canon Powershot SX540 HS weigh just around a pound (450g). In general, higher-quality devices weigh a bit more due to their larger and thus heavier zoom lenses. But models around 2 pounds (1kg), such as the Panasonic Lumix FZ2000, the Panasonic Lumix FZ1000 II or the Sony Cyber-shot RX10 III are still quite suitable for travel and excursions.
Screen
The screen size is usually about three inches and thus offers enough space to see the subject well. In most cases, you can zoom in on the images you’ve taken so that you can view every detail. Some models have a touchscreen, others can only be operated via buttons. This is really about your personal taste. Apart from the handling and size a camera, many attach importance to a flexible use. A swivel and tilt screen can be very helpful for nature but also video shots.
Image stabilizer
An image stabilizer is a very helpful feature that automatically compensates for an unsteady hand when shooting photos and videos, ensuring a sharp image even at high zooms. Although the image stabilizer doesn’t replace a tripod, the quality of the image benefits enormously from this function and should therefore not be missing. Many bridge cameras have an image stabilizer integrated into their lenses. Some models have a dual IS mode. They have additional elements for motion compensation built in.
Continuous shooting mode
Continuous shooting is a good way of taking several shots of a moving scene and selecting the best possible photo from this series of images afterwards. Without this additional function, you would need to be rather lucky to get a decent picture of a passing vehicle, for example. With the continuous shooting mode, cameras shoot about five to ten images at very short intervals. This increases the chance of a good shot. This way, you can also display a scene in motion by showing images side by side or one after another.
Panorama mode
An exciting feature for nature photographers is the panorama mode: Here, many shots are merged to form a single large panoramic image. This allows you to capture very wide subjects and thus capture the entire atmosphere of a scene, for example in nature shots. Panorama mode enables you to take pictures at an angle of up to 360 degrees.
Using a bridge camera
Bridge cameras are sensitive devices that you should handle with care. They are particularly susceptible to damage through falls and rough external influences. A carrying strap is therefore highly recommended, especially for excursions. You should also protect your bridge camera from water and dirt. Although they are better protected against intrusion of contaminants due to the fixed lens, they are usually not water-resistant. This is why you should also be careful when cleaning: dishwashing detergent is absolutely taboo. It’s much better to use a special cleaning kit. This usually includes liquid cleaner, cleaning sticks, bellows, brush and microfiber cloth. If possible, use only original and in any case intact batteries. To avoid deleting pictures and recordings, you should also keep an eye on the device’s memory and replace the memory card if necessary.
Image 1: © Unclesam / stock.adobe.com | Image 2: © o_a / stock.adobe.com | Image 3: © REDPIXEL / stock.adobe.com | Image 4: © Simon / stock.adobe.com